Creating OpenStack VM Images with ISO
Written by : Yuriy Shyyan & Ramon Grullon
ISO images in OpenStack function similarly to CD-ROMs and USBs in traditional computing environments. They contain installation files and data for operating systems and software, and users typically use ISOs to install them unto virtual machines.
This article will help you understand how you can install any ISO type media onto an OpenStack volume to create singular installation or re-usable images for Virtual Machine use.
Prerequisites
- Familiarity with OpenStack Horizon
Preparation
In this article we will use ISOs to create 3 VM images: PFSense, 3CX, and Fedora
This method can be applied to a variety of Operating Systems.
Upload ISOs to Cloud
ISO Context of OpenStack
Imagine that provisioning a VM using an ISO, is like plugging in a Live USB/CD into a computer. This computer does NOT have a hard drive, the storage is ON THE USB. This is a very special relationship when running image based virtual machines. The storage that is part of the VM flavor is attributed to the Image. In fact the data of the ISO loads in as the volume if you create the ISO based VM. Instead of a USB/CD-ROM, it’s a full blown computer, with CPU, RAM and storage (ISO storage).
First upload the ISO to your cloud / project. You can do this through Horizon
Uploading ISOs as the Admin user will allow you to share the ISO to be used by
all projects if selecting Public permissions.

For large images Horizon will not let you upload large images through the UI. You may need to use the OpenStack CLI tool like so:
openstack image create --file Fedora-Workstation-Live-x86_64-39-1.5.iso --disk-format iso --public --progress "Fedora Workstation Live 39"
[=============================>] 100%

openstack image create --file debian-amd64-netinst-3cx.iso.1 --disk-format iso --public --progress "3cx-debian"
[=============================>] 100%

openstack image create --file pfSense-CE-2.7.2-RELEASE-amd64.iso --disk-format iso --public --progress "pfsense"
[=============================>] 100%
Images
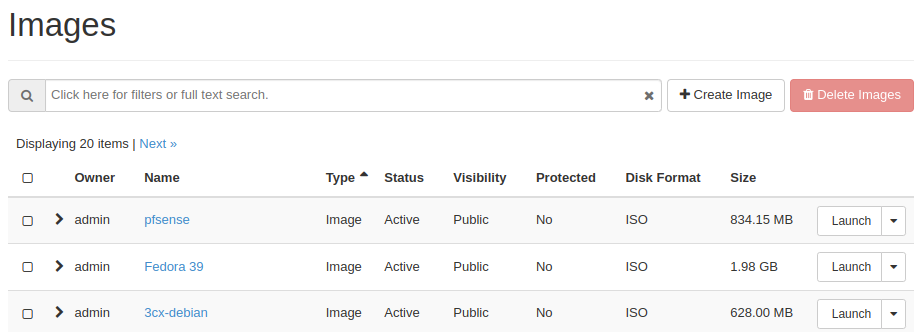
Create ISO Virtual Machines
Understand that an ISO is technically just a ‘Drive’ that you can boot from, but we need CPU and Memory to do that. So create a VM. There is no point to create a volume from the ISO (It would be a direct copy of the contents of the ISO), we want to run the Live CD/Installation Media from the image itself.
The flavor won’t matter either as these are just resources for the ISO and not the future VM, pick something that will be powerful and fast.
AVOID USING FLAVORS WITH SWAP
Below is a link to documentation on creating flavors.
Select the ISO image during VM Creation
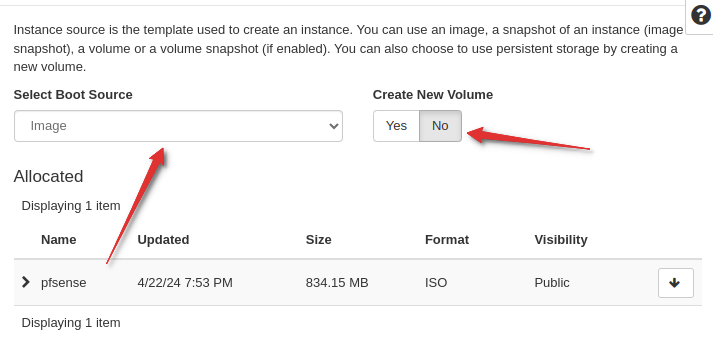
Configure the VMs with the schema name ISO-vm - this is to represent that these are not real VM, this is just us running the ISOs.

Create the Volumes (Drives to Install Software On)
What we will want to do is create a Virtual Hard drive that we will install the OS onto.
If you plan to reuse this image and the OS supports cloud-init, try to keep the volume to a minimal size, but if it cannot be expanded later with cloud-init, set the appropriate storage size that you expect to be utilized over the lifetime of the VM.
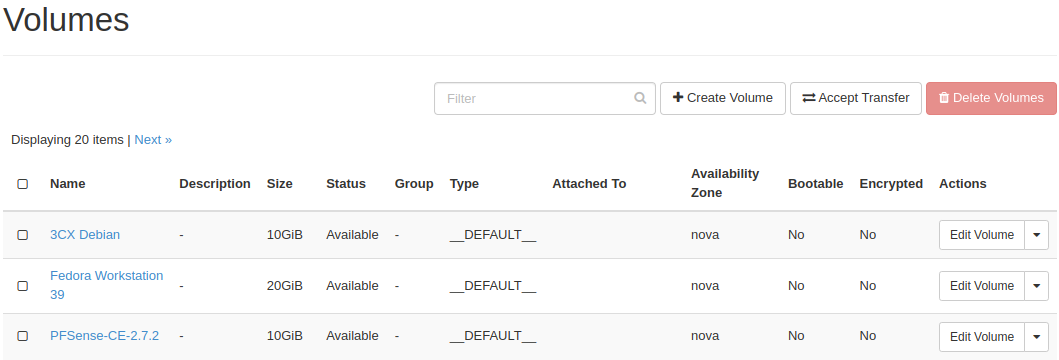
Create the Virtual Disks (Bootable drives) that we will install the ISOs onto.
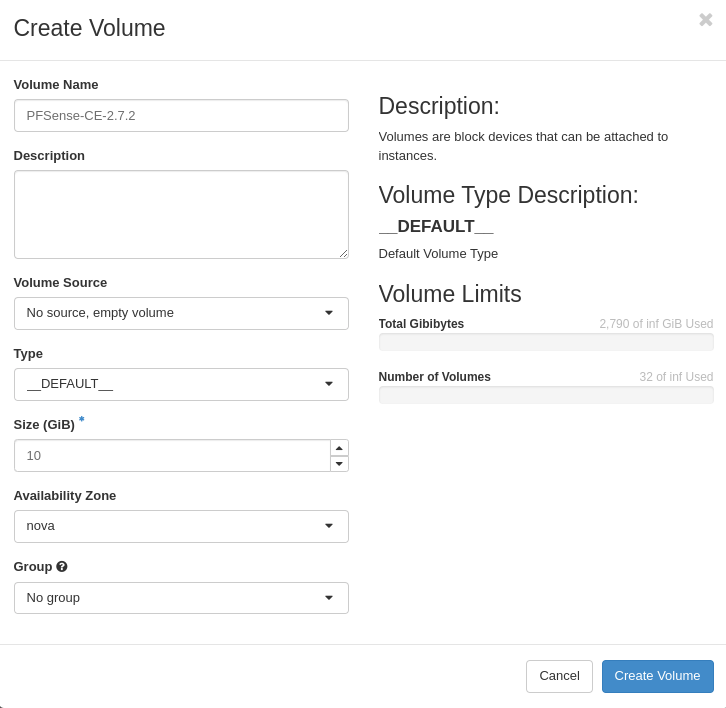
Create the volumes
Attach Volume to ISO VM
Attach the Volume (Drive) to the running ISO VMs, so that we can later through the installers - install onto these drives.
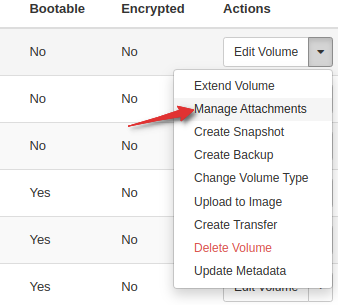
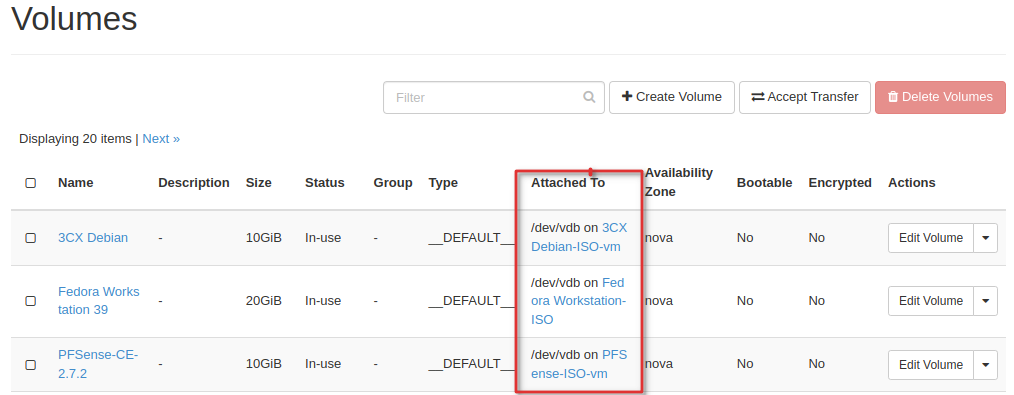
Now we have attached Empty unformatted volumes (Drives) to our respective ISO VMs.
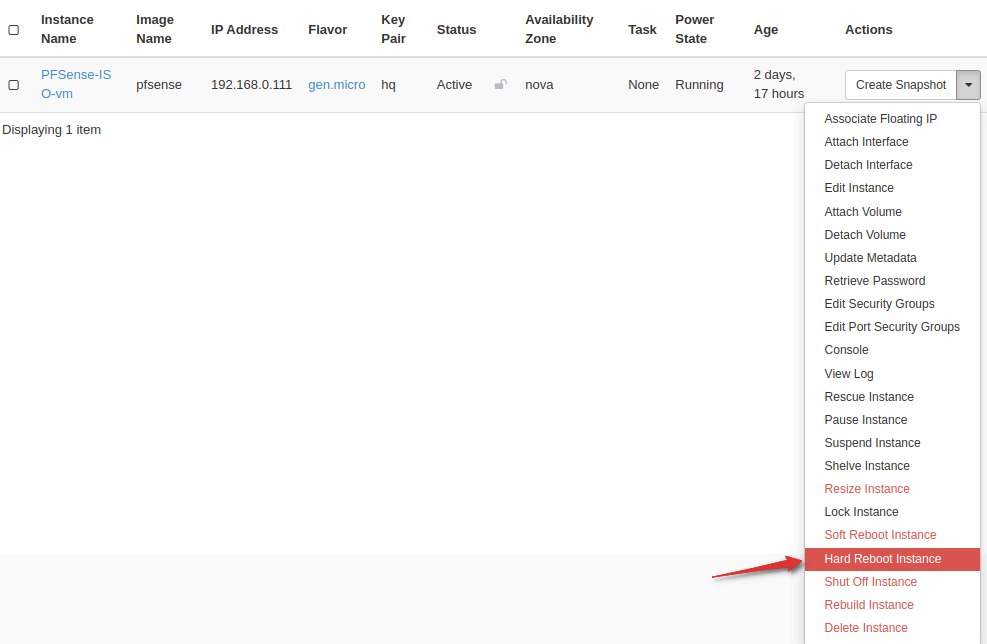
Linux OS systems have autodetection of media, but it is unlikely that the ISOs do, go ahead and trigger a Hard Reboot for each of the VMs.
Install Software
Now go to Console for each and proceed with the installer. You will eventually reach “Where to install” portion of the setup media like:
PFSense
3CX
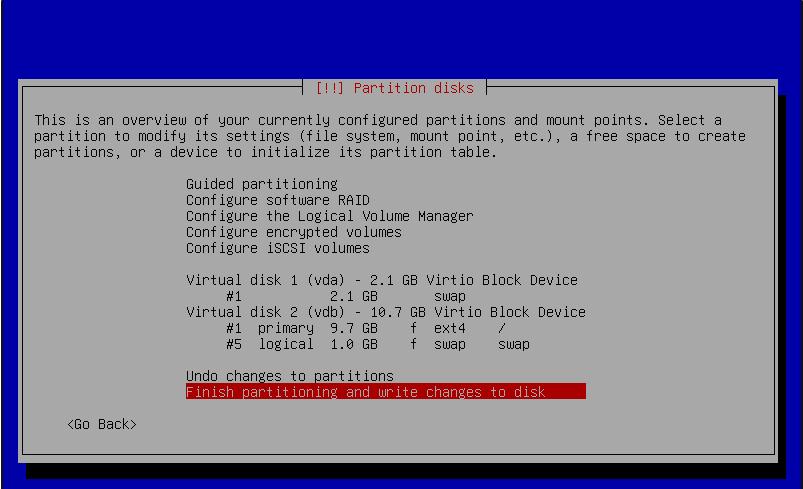
Fedora Workstation
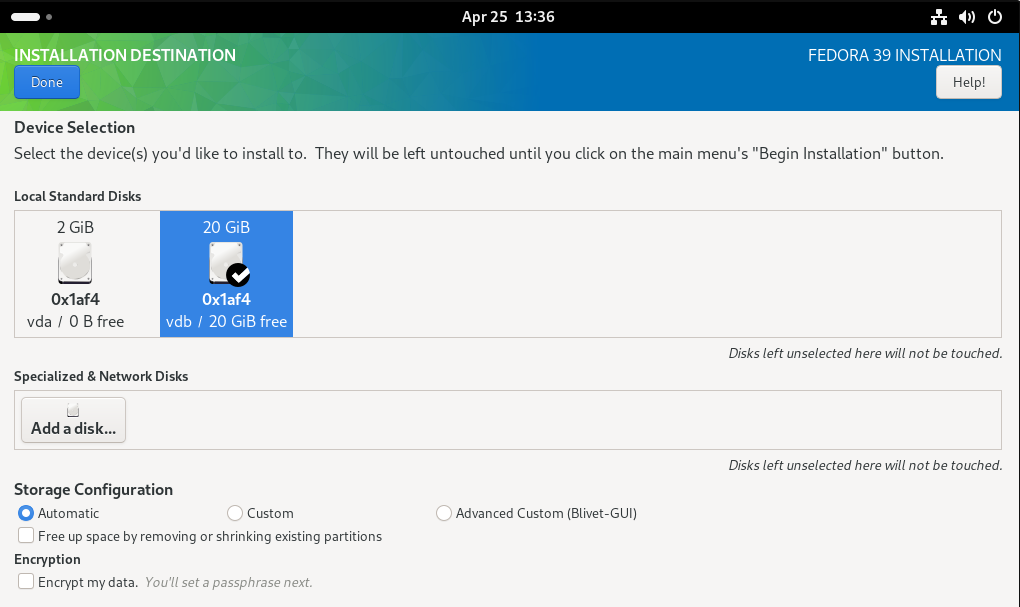
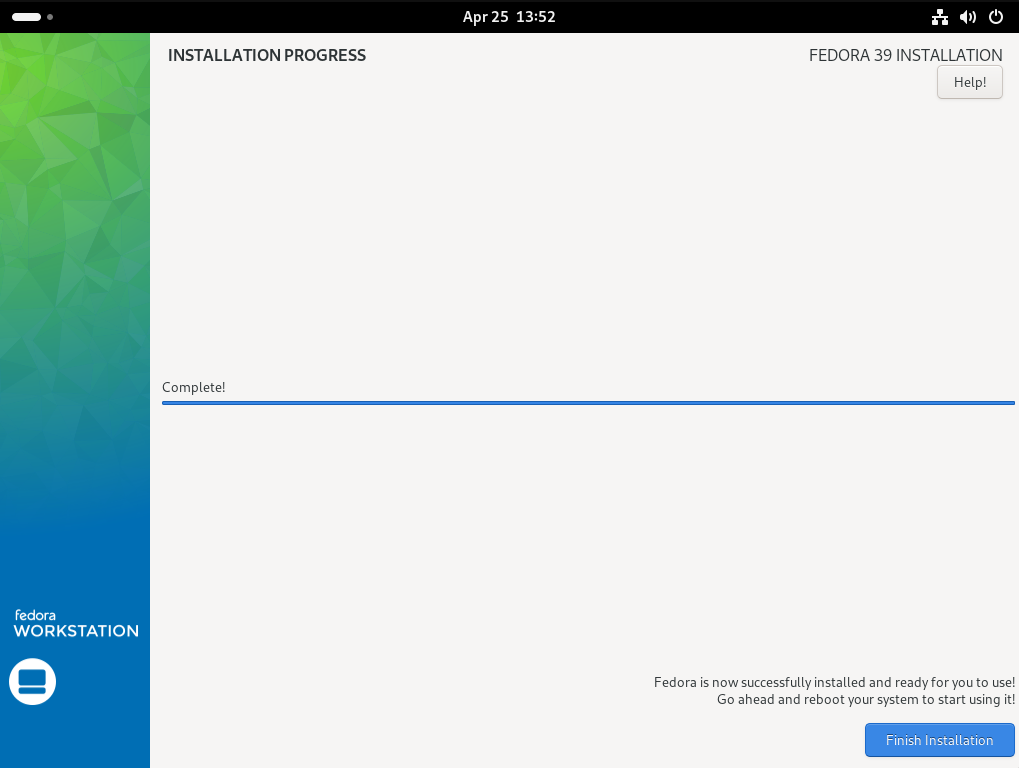
Shut Down ISO VM
Typically, once the installation completes - you will be asked to reboot, or the system will reboot automatically. That is fine, however remember that rebooting will just boot back into the ISO causing you to go through the installation menus again.
Shut down the ISO VM.
We have installed our media to the Volume.
Time to work with that directly.
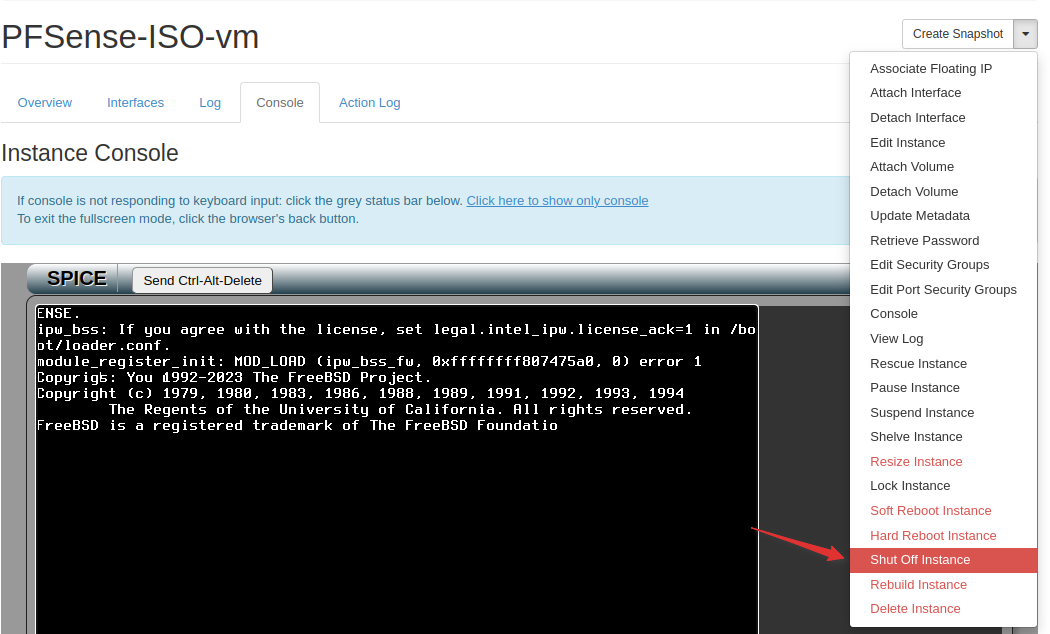
Now that the ISO instances are shut off, detach the drives we installed the media onto.

Detach and Configure Volumes
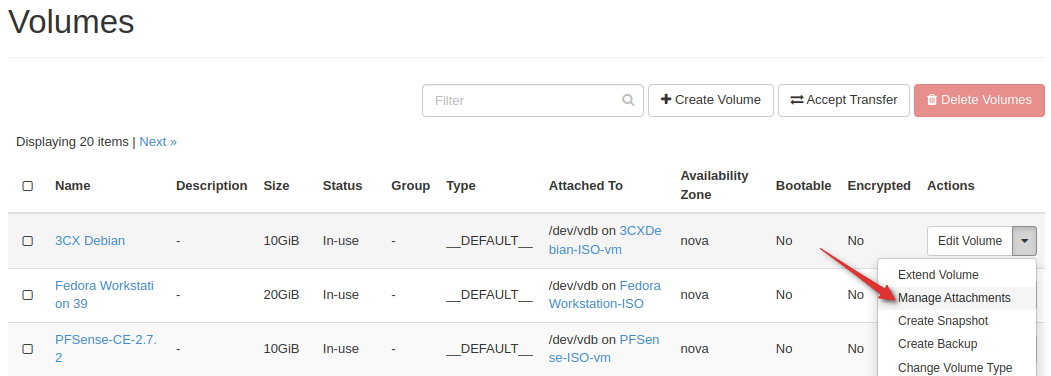
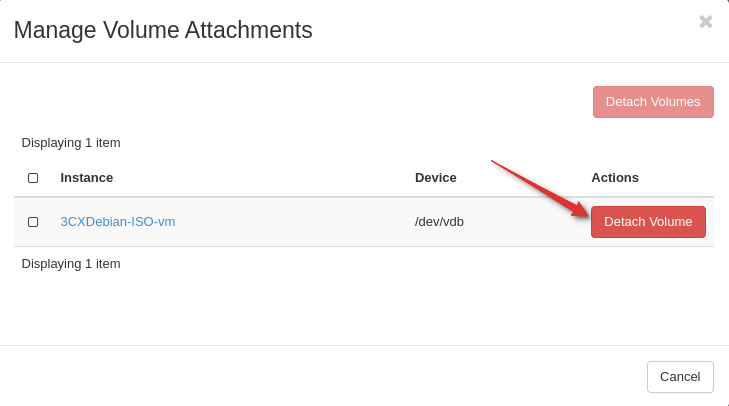
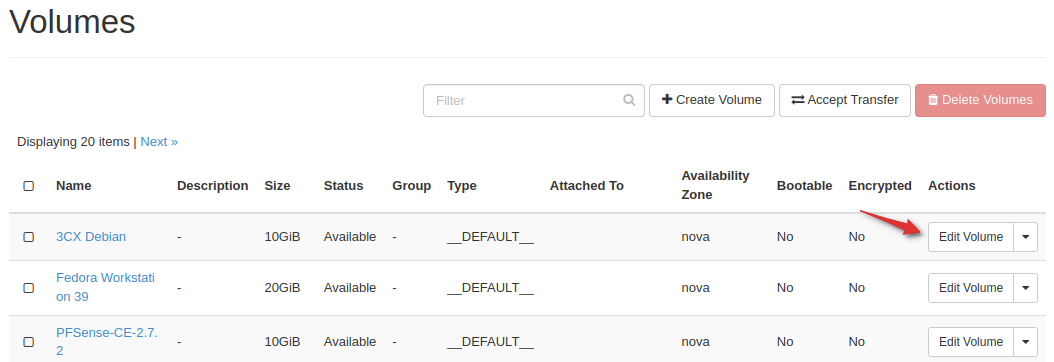
Make the volume bootable.
Click Edit Volume
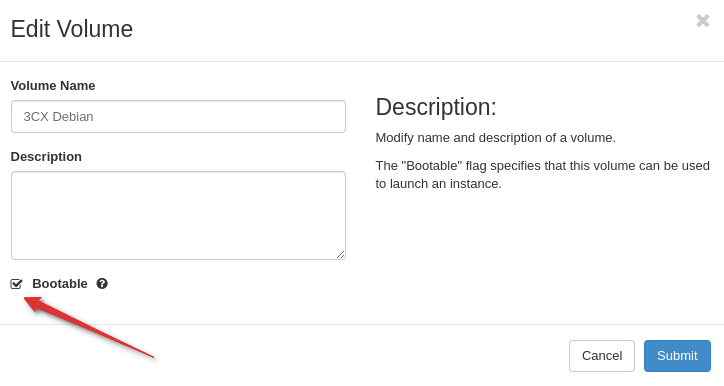
And check “Bootable”
Use / Create the VM or VM Image
You’re almost done. Now you have two options.
- Utilize this exact volume for a VM.
- Create a reusable Image out of this VM.
Create VM from Volume
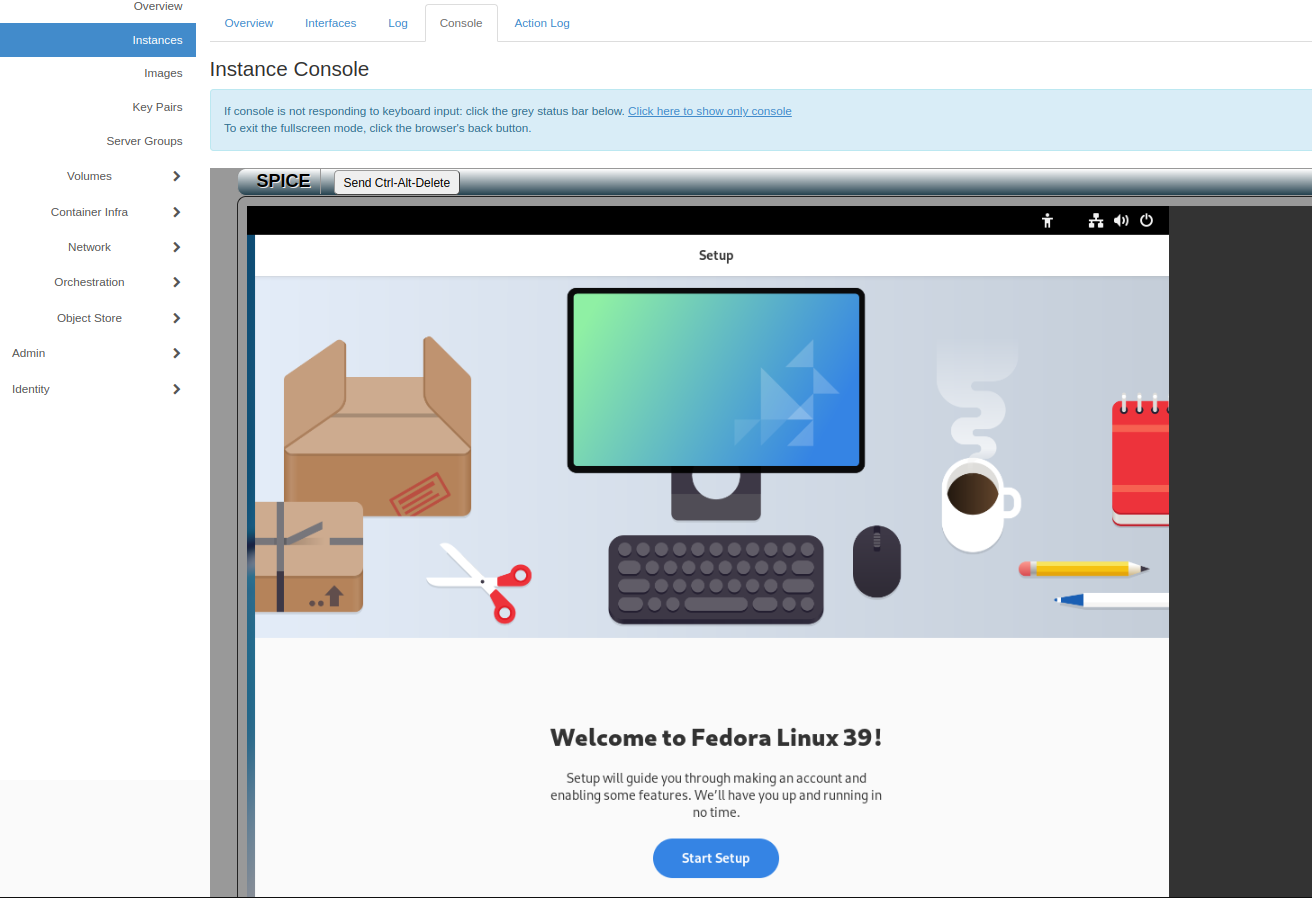
- To use the Volume, when creating the instance you can select Volume (The Drive) as the Boot Source:

Create Image and Provision from Image
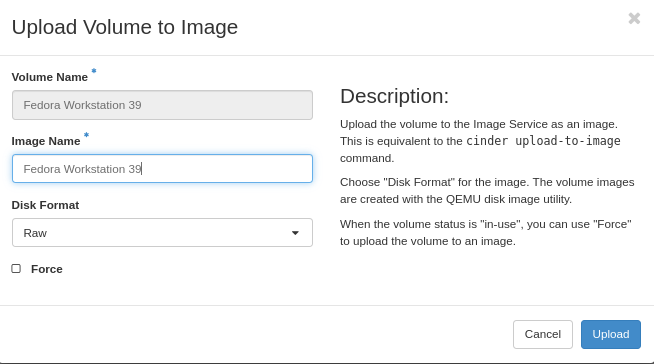
- To Create a Reusable Image upload the volume into Images

After the upload is complete, you can create VMs from that image.
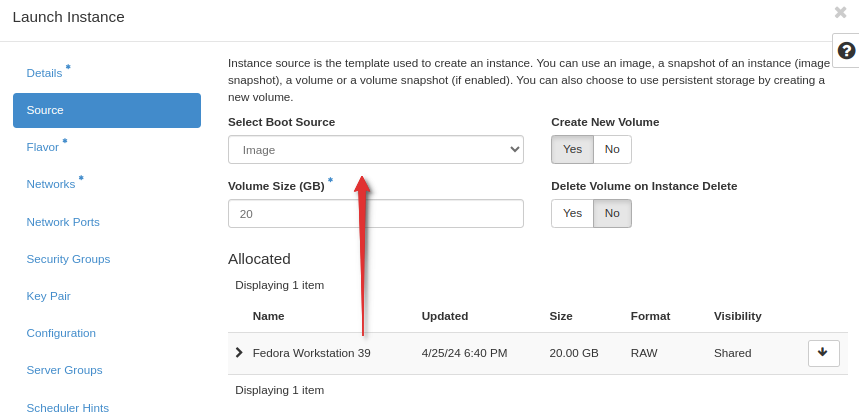
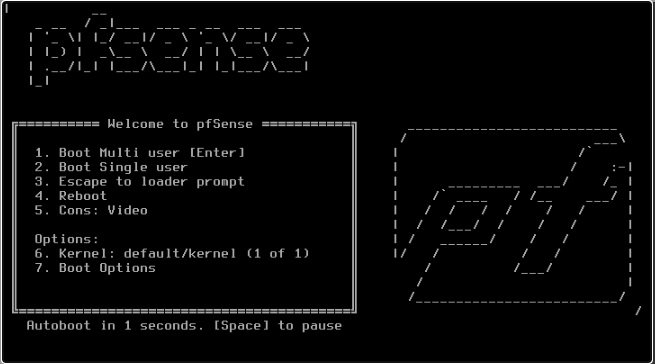
When using the new image, your VM should boot normally unto your desired OS.
ISO images in OpenStack function similarly to CD-ROMs and USBs and provide a path to deploy functional instances and images for multi-use.