Severalnines CCX on OpenStack
Introduction
Severalnines provides database automation solutions, enabling high-availability and scalable database management for hybrid environments. Their key product, CCX, supports various databases like PostgreSQL, MongoDB, and MySQL, offering features like failover, backups, monitoring, and alerting.
For more information on Severalnines, visit https://severalnines.com/.
In this tutorial, we will show you how to set up Severalnines CCX V2 on OpenStack in an OpenMetal Cloud. We used this guide from Severalnines as a reference: https://github.com/severalnines/ccx-admin-guide/wiki/Installation-V2.
Prerequisites
OpenStack
- You can deploy an OpenStack cloud on OpenMetal. For more information, refer to OpenStack on OpenMetal Cloud.
- We recommend setting up TLS on your OpenStack environment, otherwise you may run into issues connecting to the OpenStack API.
Kubernetes Cluster
- In this guide, we deployed a Kubernetes cluster using Kubespray.
- Ensure can access to the Kubernetes cluster API from the node you're using to install CCX.
Severalnines CCX License
- You will need a Severalnines CCX license to install the product. Contact Severalnines https://severalnines.com/contact/ for more information.
Step 1 - Create a new VM
This installation process requires several components to be installed. We will use a new VM to initiate the installation process, but you can also use your local device.
Note this node will need to have access to the Kubernetes cluster API.
- Log in to the OpenStack Horizon dashboard.
- Click on the
Computetab. - Click on
Instancesand then click onLaunch Instance. - Fill in the required details like
Instance Name,Flavor,Image,Network, andSecurity Group. SelectUbuntu 22.04 (Jammy)for the image name. - Click on
Launch Instance. - Once the instance is launched, SSH into the instance.
If you need help launching an instance, refer to the Creating an Instance tutorial.
Step 2 - Setup requirements
Installing CCX is done by installing two
Helm charts. Severalnines provides a convenient script that creates the yaml file
to configure your deployment. Let's install the dependencies for this process.
- Install
jq
sudo apt update
sudo apt install jq
- Install Helm 3
curl -fsSL -o get_helm.sh https://raw.githubusercontent.com/helm/helm/main/scripts/get-helm-3
chmod 700 get_helm.sh
./get_helm.sh
- Install yq https://github.com/mikefarah/yq
sudo wget https://github.com/mikefarah/yq/releases/latest/download/yq_linux_amd64 -O /usr/bin/yq
sudo chmod +x /usr/bin/yq
- Install kubectl
curl -LO "https://dl.k8s.io/release/$(curl -L -s https://dl.k8s.io/release/stable.txt)/bin/linux/amd64/kubectl"
sudo install -o root -g root -m 0755 kubectl /usr/local/bin/kubectl
- Save the kube config file from your Kubernetes cluster to the VM and test the connection.
Step 3 - OpenStack CLI Client
We'll be using the OpenStack client to fetch the required information
for the CCX yaml generator script.
Install dependencies for OpenStack client
sudo apt install python3-pip
sudo apt install python3.10-venv
Please follow the steps in the OpenStack CLI guide.
Step 4 - Run the Severalnines CCX yaml generator script
Clone the Severalnines CCX repository
git clone https://github.com/severalnines/helm-charts
cd helm-charts
Gather OpenStack information
The script will need some information from your OpenStack environment. Run the following commands and save the response for later.
Images
openstack image list
Networks
openstack network list
Security Groups
openstack security group list
Optional - Create Object Store container
The script will ask for s3 access key and secret key. You'll need to provide this if you plan on enabling backups.
openstack container create ccx-backups
Create a namespace for the CCX installation
kubectl create namespace ccx
kubectl config set-context --current --namespace=ccx
Run the yaml generator script
There are many prompts in the script. The script generates a yaml file
and saves your credentials for OpenStack and the Object Store in a secret.
We've provided the output of our script as a reference.
When prompted for ccx-deps proceed with y, it will install the dependencies
for you. For the purposes of this tutorial, we did not install External DNS.
charts/ccx/scripts/ccx-yaml-gen.sh
Note: The s3 section is optional. If you don't have an object store, you can skip this section.
Note: You will need your CCX license at this point.
# Output: values.yaml
ccx:
  cloudSecrets:
    - openstack-creds
    - openstack-s3
  services:
    deployer:
      config:
        openstack_vendors:
          openmetal:
            auth_url: https://openstack.url:5000
            network_api_version: NetworkNeutron
            compute_api_microversion: "2.79"
            floating_ip_api_version: FloatingIPV3
            project_id: fbf2c7b0637549af975a25dc9d243e7a
            floating_network_id: c000423b-72a7-42c7-a6b3-89c2faa105fa
            network_id: c000423b-72a7-42c7-a6b3-89c2faa105fa
            max_jobs: 5
            retries: 5
            regions:
              IAD3:
                image_id: 7332b0b3-7c48-4a8f-a33b-324985c1f93a
                secgrp_name: default
            s3:
              endpoint: https://openstack.url:6780/swift/v1/AUTH_hash
              access_key: hash
              secret_key: api_key
  config:
    clouds:
      - code: openmetal
        name: openmetal
        regions:
          - code: IAD3
            display_code: IAD3
            name: IAD3
            country_code: US
            continent_code: NA
            city: VA
            availability_zones:
              - code: iad3
                name: iad3
        network_types:
          - name: Public
            code: Public
            info: All instances will be deployed with public IPs. Access to the public IPs is controlled by a firewall
            in_vpc: false
        instance_types:
          - code: gen2.medium
            name: gen2.medium
            type: gen2.medium
            cpu: 4
            ram: 4096
            disk_size: 100
        volume_types:
          - code: 669a5ea4-a3b0-4147-8df5-3a092ad9161a
            name: 669a5ea4-a3b0-4147-8df5-3a092ad9161a
            info: Storage is directly attached to the server
            has_iops: false
            size:
              min: 80
              max: 8000
              default: 80
  userDomain: ccx.domain.io
sessionDomain: domain.io
ccxFQDN: ccx.domain.io
ccFQDN: cc.domain.io
storageClassName: cinder-default
cmon:
  license: YourLicense
  password: YourChosenPassword
---
Step 5 - Depoly CCX
Add the Severalnines Helm repository
helm repo add s9s https://severalnines.github.io/helm-charts/
helm repo update
Install the Severalnines Helm chart
Note: Ensure to check all pods, jobs are running without any errors.
helm install ccx s9s/ccx --wait --debug --values values.yaml
kubectl get pods -n ccx
Step 6 - Verify CCX
Fetch the CCX URL
kubectl get ingress ccx-ingress -n ccx
Access the CCX URL in your browser
https://ccx.domain.io/
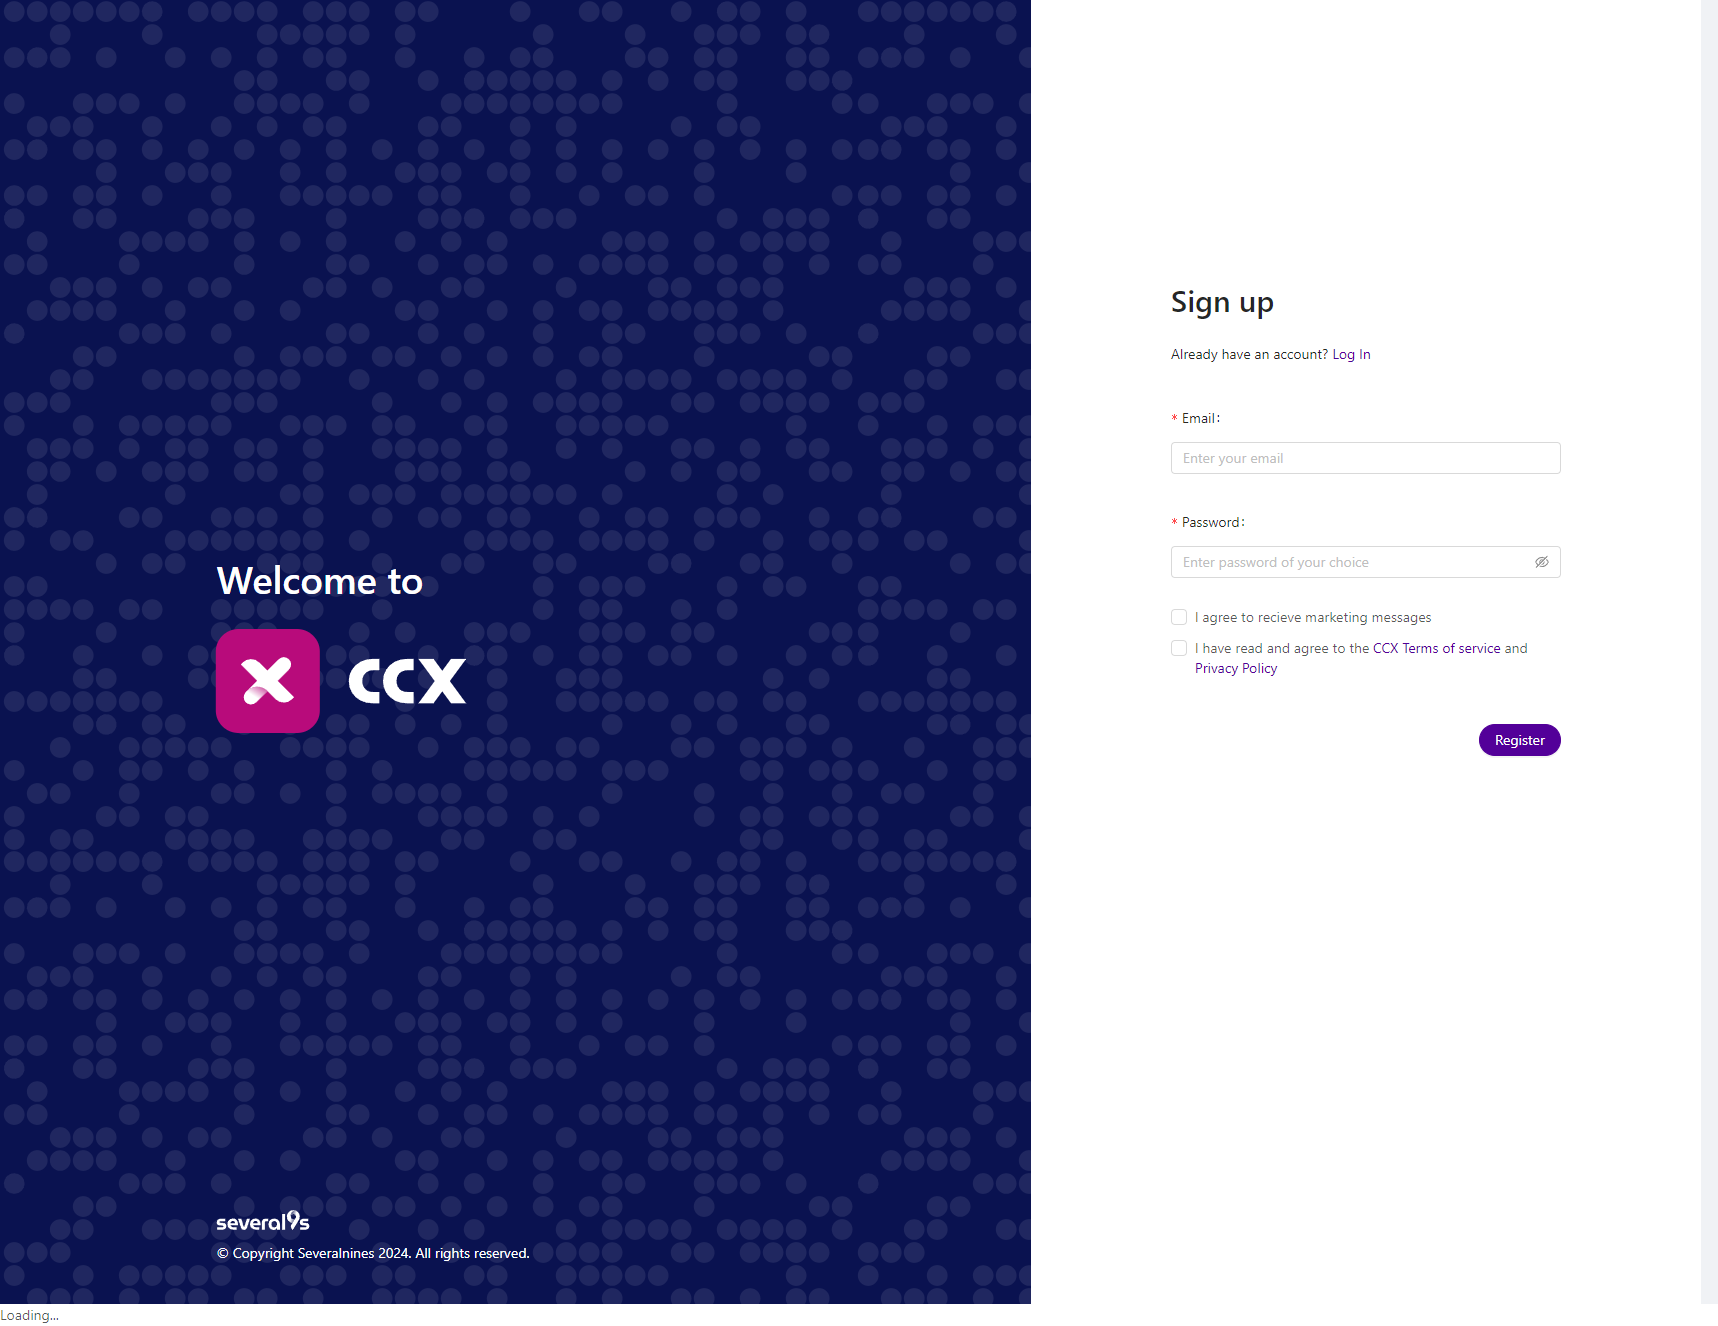
Register for a new account

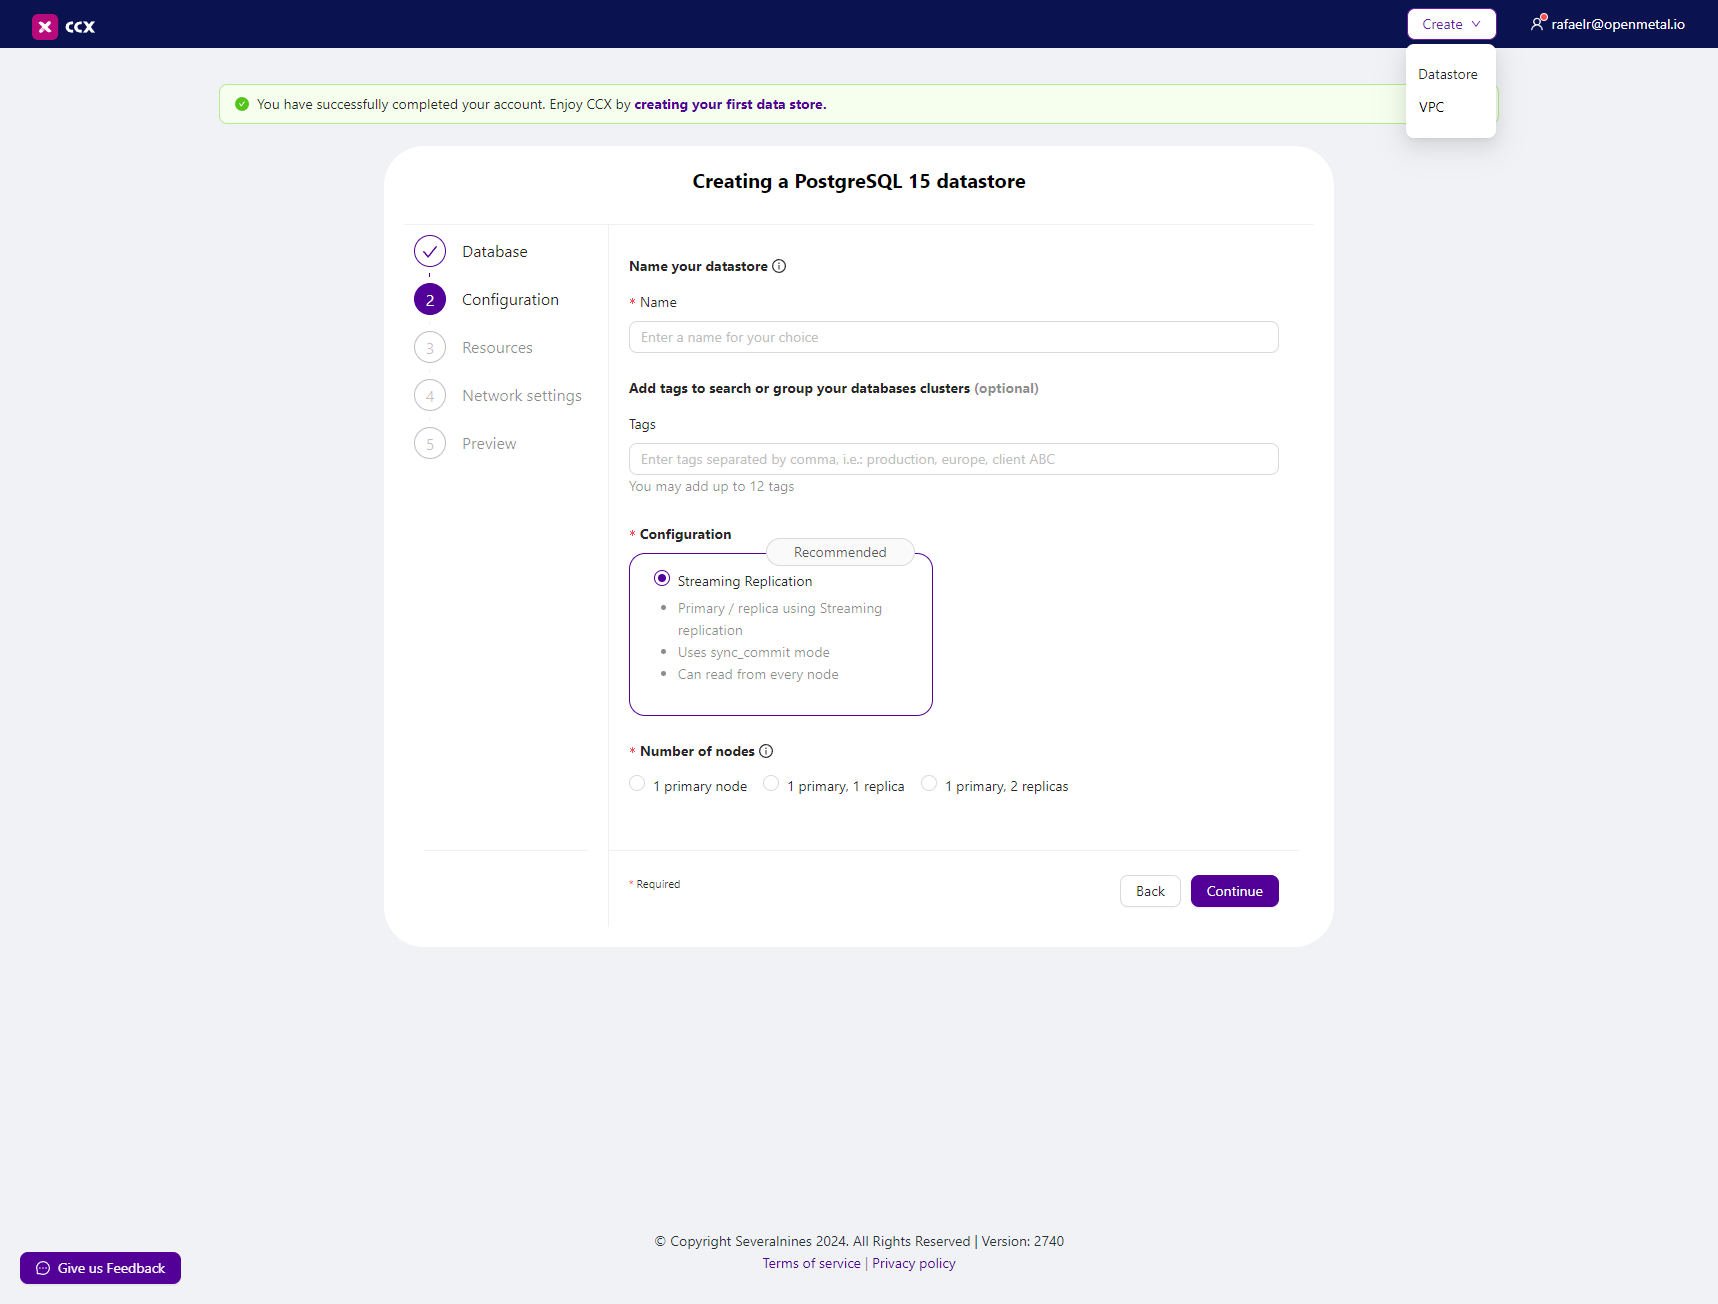
Deploy a datastore

Conclusion
You have successfully installed Severalnines CCX on OpenStack in an OpenMetal Cloud! For more information and troubleshooting, refer to the Severalnines documentation.