Create a User and Project in OpenStack Horizon
Introduction
In OpenStack, the cloud is divided through the use of projects. Projects have associated with them users, who have differing levels of access, defined by roles. An administrator defines resource limits per project by modifying quotas. In this guide, we explain how to create a project and associate a user with it. Additionally, we explain how project quotas can be adjusted.
Quick Overview: Project, Admin, and Identity Tabs
Upon initially logging in to Horizon as admin, you see on the left tabs that group areas together. The three primary tabs seen are Project, Admin, and Identity. Only a user with the admin role sees the Admin tab. Administrative functions, such as live migrating an instance, occurs through the Admin section. Project users with the member role see only the Project and Identity tabs and can only perform actions within their specific project.
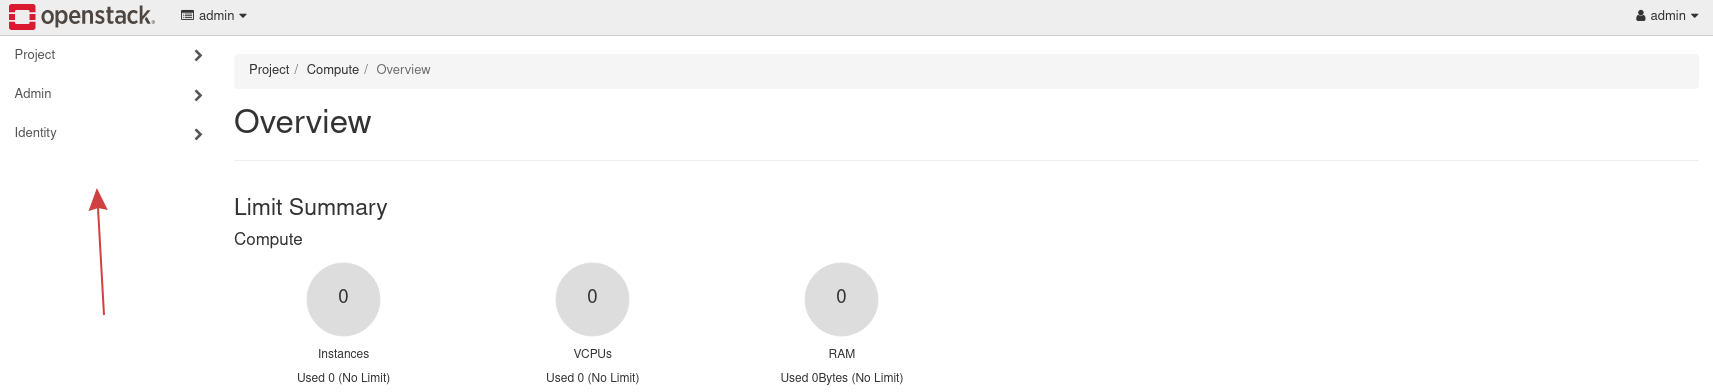
Figure 1: Project, Admin, Identity tabs
How to Create a Project
When you first log in to Horizon as the administrator account, you find yourself in the project called admin. You can see this by looking at the very top and near the left of the screen.
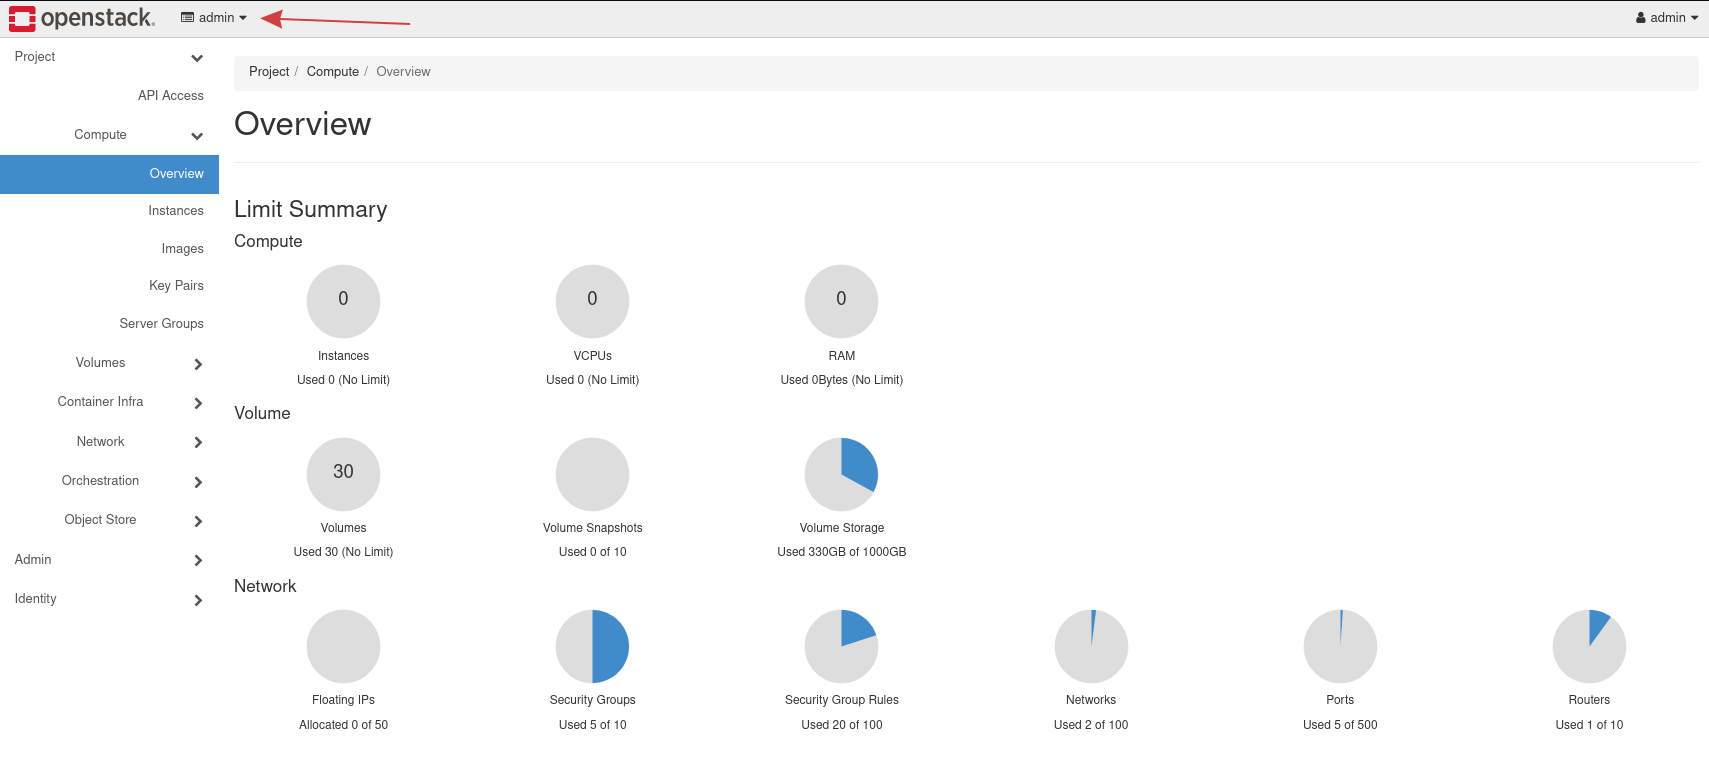
Figure 2: Admin Project Overview
The left most column contains links to different areas in which different tasks can be performed. There are three primary groupings: Project, Admin, and Identity. Only an account with the administrator role can see the Admin tab. The Identity tab is used to create a project.
Create your First Project
To create your first project, navigate to Identity -> Projects.
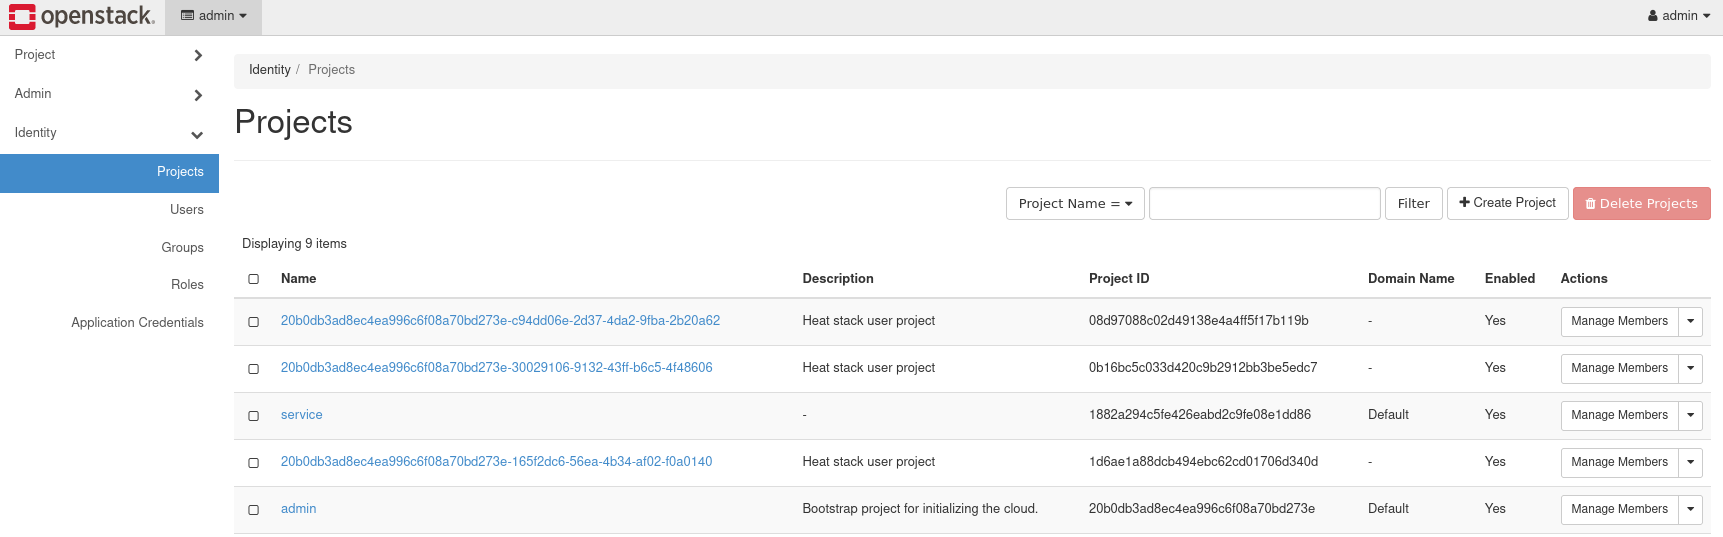
Figure 3: Project Listing
Several projects already exist, including the admin project. These projects are deployed by default and generally should not be modified.
Pull up the form to create a project by navigating to the Create Project button near the top right.
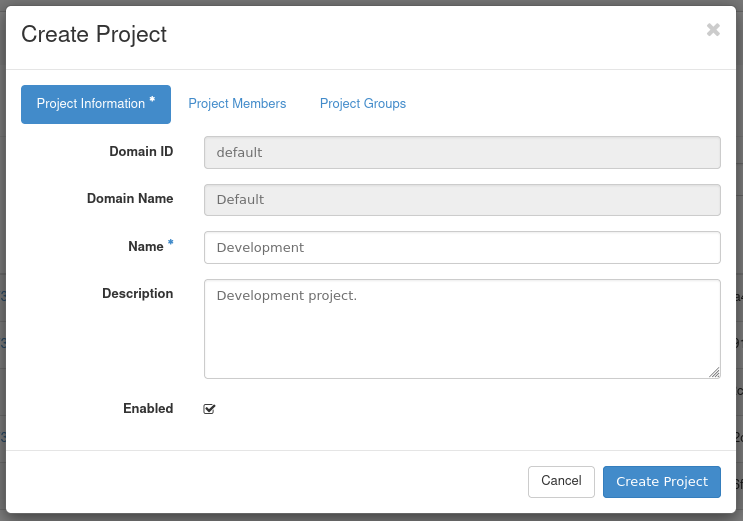
Figure 4: Create Project Form
Under the Name field, specify a name for the project. This example project is called Development. There are tabs for adding Project Members and Project Groups, but these are not covered for this demonstration. This guide later explains how to create a user and attach it to this project. Click Create Project to finish creating the first project.
Once created, the project appears in the Project Listing page.

Figure 5: Development Project Listed
Project Quotas
While in the project listing page, you can view and adjust quotas for this project as the admin user. Quotas are limits on resources, like the number of instances for example.
To view the quotas for this project while in Identity -> Projects tab, find the drop down to the right with the first option being Manage Members. From this drop down, click Modify Quotas to view the default quota values.

Figure 6: Modify Quotas
A form appears with several tabs and you are presented with the quotas for the Compute service. Quotas exist for the Volume and Network services as well.
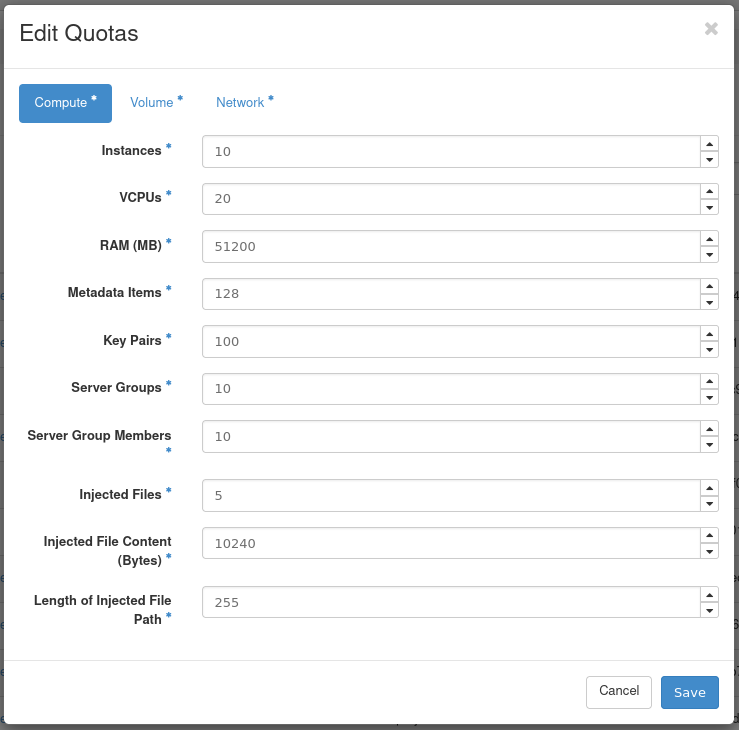
Figure 7: Edit Quotas
You may want to adjust the parameters in this form depending on your workload.
Note! -- We have seen issues appears where an item, like an instance, cannot be created. This is often related to a hard limit set for a specific quota. Typically the error message received indicates the quota has been reached.
Note! -- Setting a value to -1 means that quota is unlimited.
How to Create a User and Associate with Project
With your first project created, you can now create and associate a user with it. The intention of this guide is to have you create a user, associate it with the project created earlier, and then log out of Horizon as admin, and log back in with the new user.
To create a user, first navigate as admin to Identity -> Users. By default, there are several users already listed, and this is expected. These are created during cloud deployment and should generally not be modified.
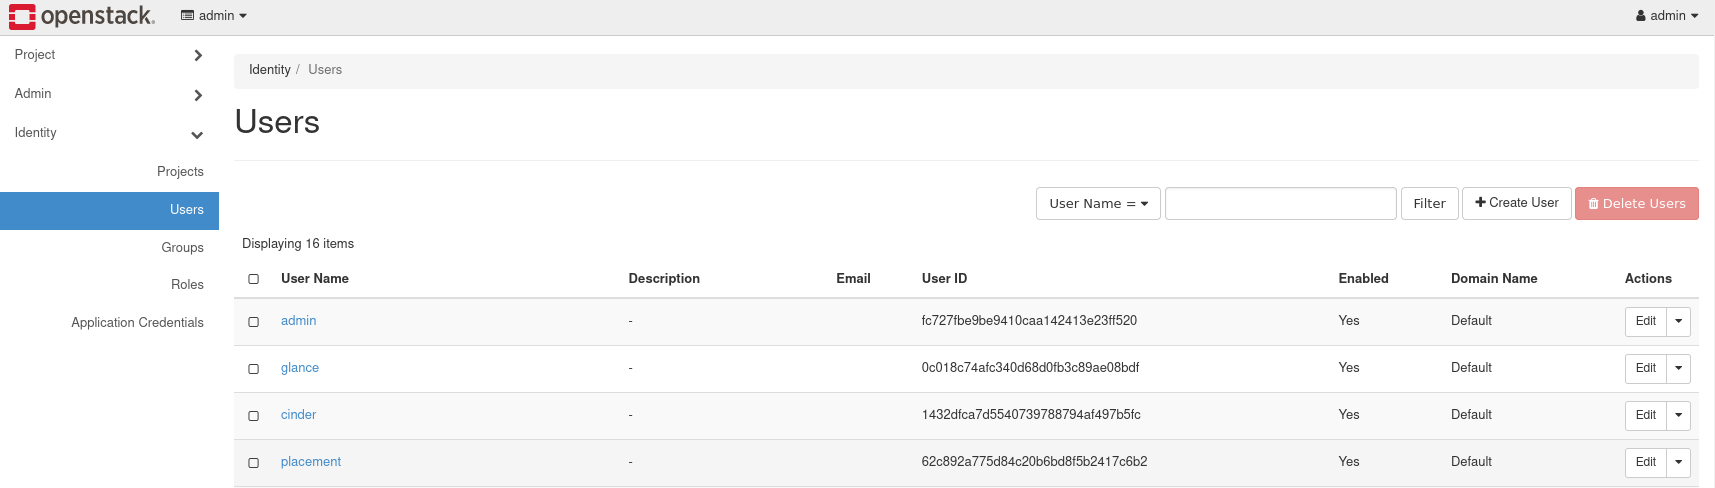
Figure 8: User Listing
Next, load the form to create a user by navigating to Create User in the upper right of the screen.
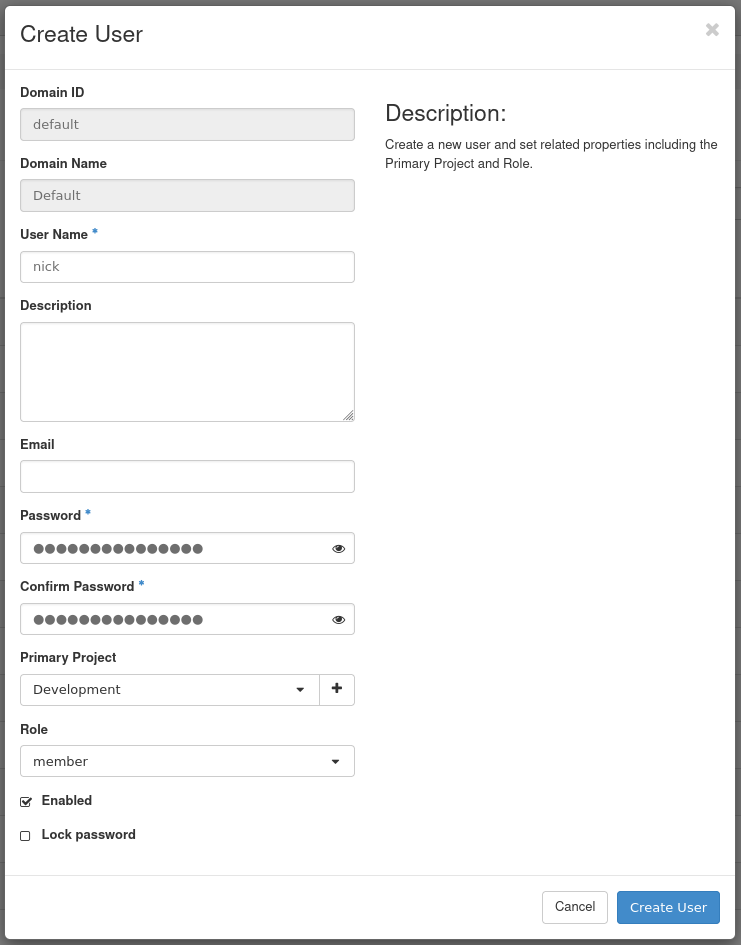
Figure 9: Create User Form
For this example, we set values for User Name, Password, Primary Project, and Role.
- User Name: Specify your user here
- Password: Set a unique, randomly generated password
- Email: Optional, but is useful for password resets
- Primary Project: Choose the project created earlier
- Role: This example selects the
memberrole
For Role, there are several options, depending on the level of access required. The default OpenStack roles are reader, member, and admin. Additional roles exist in the drop down, which is expected. This example sets the role member for this user. For more about roles in OpenStack, see the latest Keystone Default Roles documentation.
Press Create User to create the user.
Next, log out of Horizon as admin, and log back in with your new user. Upon logging back in you are by default in the newly created project. You can see the project you are currently in at the top left and your user can be seen at the top right of Horizon.

Figure 10: New User Login
For the rest of this guide, we assume you are working out of the newly created project and using the user associated with it.