How to Add or Remove OpenStack Hardware Nodes
Introduction
OpenMetal Private Clouds can have hardware nodes added to them, increasing the available compute and storage resources to your cloud. Similarly, hardware nodes can be removed should resources no longer be required. In this guide we explain best practices when selecting new hardware nodes for your cloud. Next we cover how to add nodes, which types of nodes you can add, and the process for removing nodes from your cloud.
Cloud Hardware Selection
In this section we outline the types of clouds offered, the types of nodes you can add to your cloud, and best practices when choosing hardware for your Private Cloud. Additionally we explain conditions under which your cloud's Ceph cluster is affected when adding hardware.
Types of Private Clouds
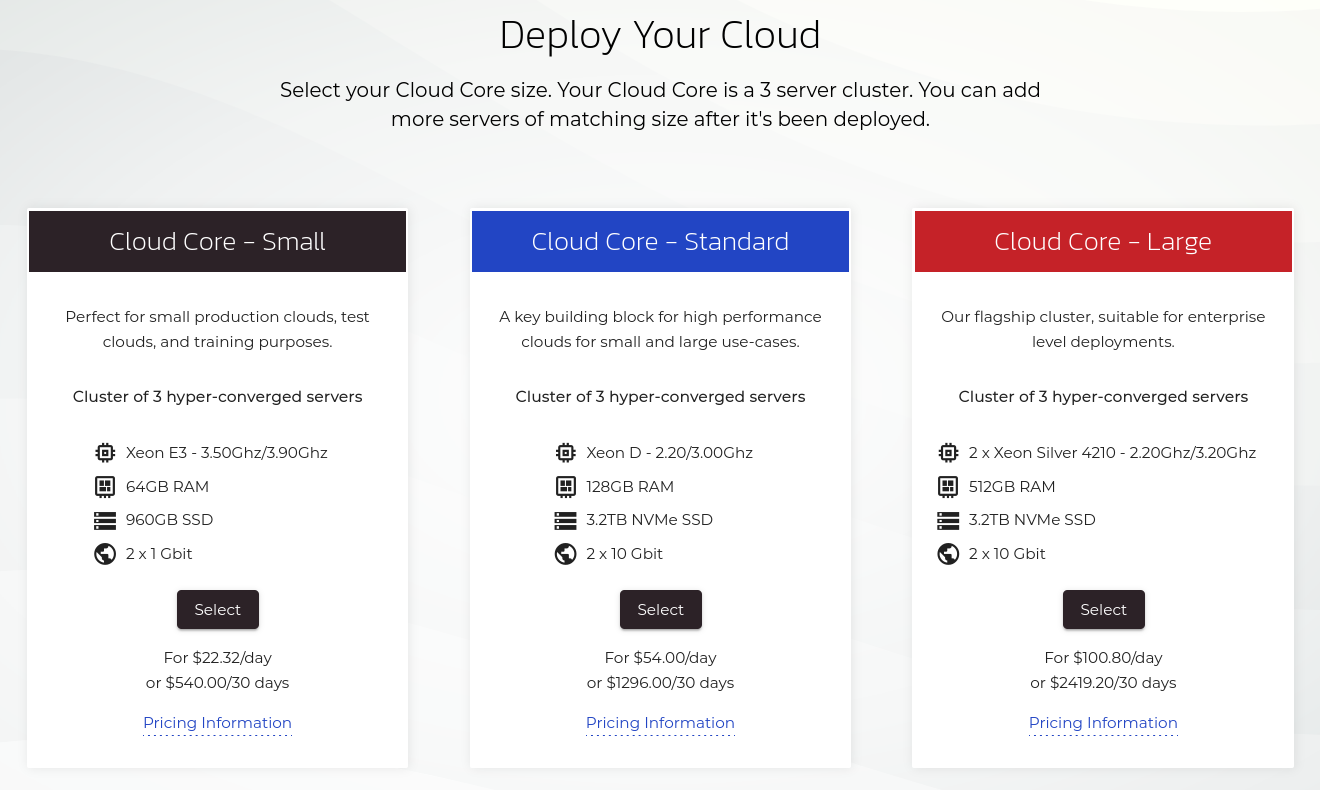
We currently offer three server sizes for our Private Clouds as seen in the following image:

Figure 1: Private Cloud Core Selections
- Cloud Core - Small: This cluster type should be considered for testing environments. Each node has a 1Gbit Network Interface Card (NIC). The network throughput across cluster members could be a bottleneck.
- Cloud Core - Standard: This cluster type is considered ready for production. Each node has a 10Gbit Network Interface Card. The network throughput across cluster members should not be a bottleneck.
- Cloud Core - Large: Production-ready and provides the most resources. Each node also has a 10Gbit Network Interface Card.
Types of Nodes
The following are the types of nodes that can be added to a cloud.
- Storage and Compute - Small
- Storage and Compute - Standard
- Storage and Compute - Large
- Compute - Large
- GPU - A100
The Benefit of Homogeneous Clouds
By default, Private Clouds are hyper-converged and include a Ceph deployment. Generally speaking, Ceph is only as fast as your slowest node allows, though there are caveats to this. Ceph could be impacted by the type of nodes added to a cluster due to potential differences in hardware, such as performance disparity between storage provided by HDDs, SSDs or NVMes. Having a homogeneous cluster of similarly equipped nodes will have the best results in terms of performance and data density. Additionally, while you can add any hardware node to your cloud, the Network Interface Cards (NICs) for each designation of node may have a different maximum throughput. If a node with a 1Gbit NIC is added to a cluster with nodes having 10Gbit NICs, the internal network traffic is limited by the additional node.
Adding Hardware Nodes to a Cloud
In this section, we explain the steps needed to add hardware nodes to your cloud.
The following demonstrates adding a Storage and Compute - Standard node to a Cloud Core - Standard cloud.
How to add a Hardware Node
Navigate in OpenMetal Central to Cloud Assets Page
First navigate in OpenMetal Central to your cloud's details page. Next follow the Assets link on the left. This page shows you details about your cloud's current assets and also allows you to add a new hardware node. To add a new hardware node, select the Add Hardware button located at the top right.

Figure 2: Add Hardware
View Hardware Node Types
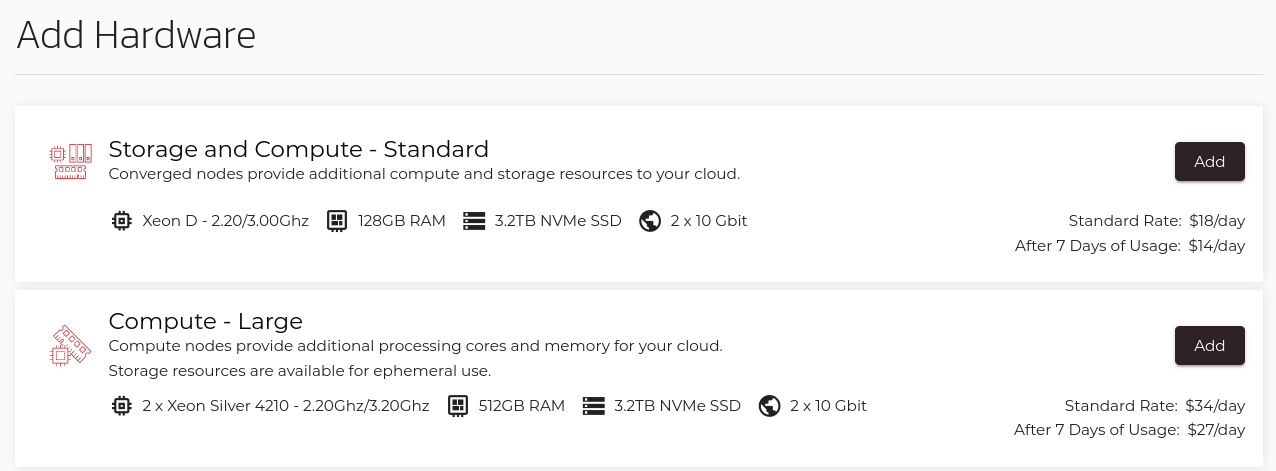
The next screen presents you with a list of available hardware nodes as can be seen in the following screenshot.

Figure 3: Available Hardware List
Hardware specifications and the cost per day are listed with each available offering.
Select the appropriate hardware node for your cloud. To add a new hardware node, select the Add button associated with the node type you would like. Next, specify the amount of nodes to add from the drop down.
Confirm Hardware Node Addition
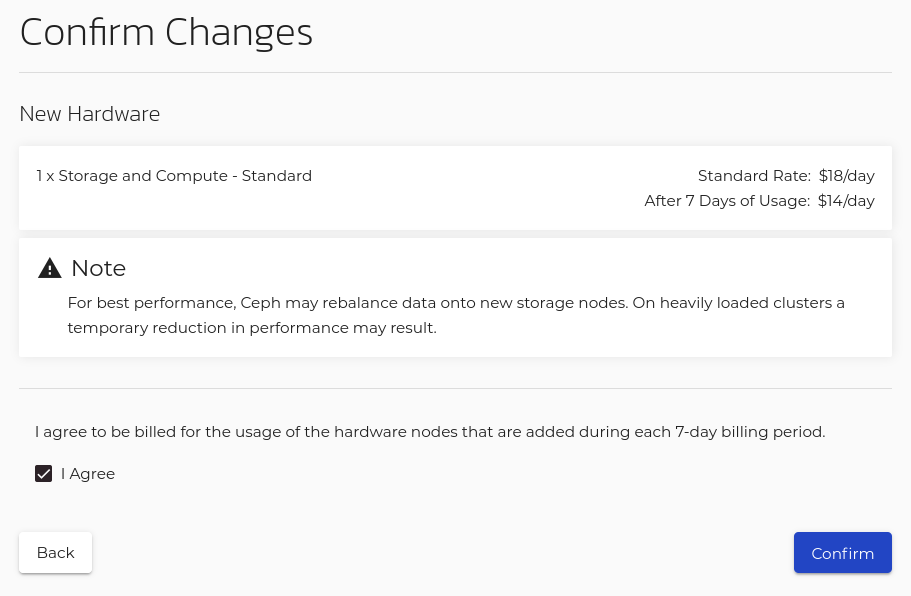
After choosing the number of nodes to add, confirm the additional hardware.

Figure 4: Confirm Addition of new Hardware
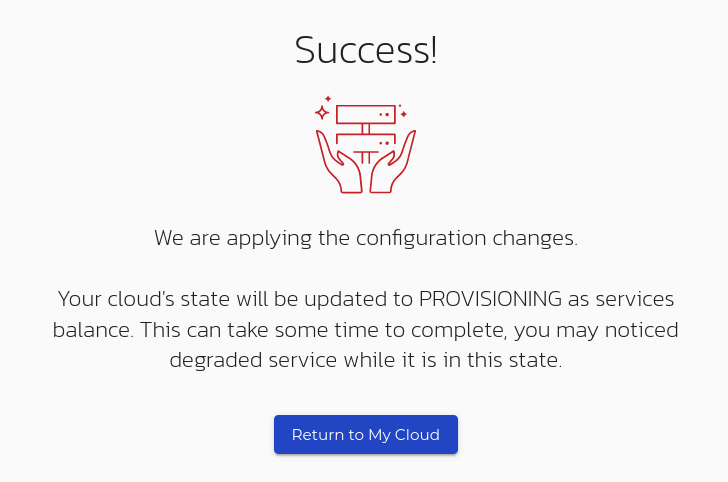
After the system processes the request a success message is returned as can be seen below:

Note -- Adding a hardware node can take around an hour to complete. An email is sent to the primary account's address when complete.
Figure 5: Hardware Addition Success
Should you navigate back to your cloud's assets page, you can visually confirm the additional node by inspecting the hardware associate with your cloud. In this example, there is a red dot next to the newly added node, indicating it is still being added to the cloud.

Figure 6: Cloud Assets List, Newly Added Node but not Available
Verify Hardware Addition Success
An email is sent to your account upon successfully adding this node. Navigate to your cloud's assets page to confirm the newly added node.

Figure 7: Successful Hardware Node Addition
Removing Hardware Nodes from a Cloud
In this section, we outline the steps required to remove a hardware node from your cloud.
There is not a native feature in OpenMetal Central allowing you to remove hardware nodes from your cloud. Should you need to remove a hardware node from your cloud, consult with your Account Manager first or submit a ticket through OpenMetal Central. It is very important all data required from this node is copied elsewhere prior to making a request to remove a hardware node. You can help facilitate the process of removing the node by migrating any running instances from it to another node.
Consider Before Removing
At all times, your cloud must have three hyperconverged control plane nodes running to have a fully functioning OpenStack cloud. As such, the node being removed cannot be a control plane node.
Control plane nodes in OpenMetal Central are prefixed with Cloud Core and can be distinguished from other nodes by inspecting the Class column in your cloud's assets page in OpenMetal Central.
For example, in the following screenshot, the first three nodes are control plane nodes:

Figure 8: Control Plane nodes
The last node, classified by Storage and Compute - Standard is not a control plane node, meaning it does not run all the core OpenStack services.
Our support will review your request to ensure requirements are met prior to removal.
Initial Preparation
To prepare for removal of a hardware node, migrate any instances to another node that has compute services running. All hyperconverged nodes run OpenStack's compute service. For instruction regarding migrating instances to another node, see the How to Live Migrate Instances guide.
How to Remove a Hardware Node from a Cloud
To remove a hardware node from a cloud a ticket must be submitted with the request through OpenMetal Central. Specify the hostname or IP address of the node you wish to be removed and an agent will review the request.