Launch an OpenStack Instance Automatically with HashiCorp Terraform
Introduction
Terraform allows you to write out your cloud's infrastructure as code, commonly referred to as IaC. Using an IaC model allows software development practices to be applied to your cloud's infrastructure. A cloud's infrastructure as code can then be shared and iterated over as needed. In this guide, we demonstrate how to use Terraform to spin up an instance within a OpenMetal Private Cloud.
Prerequisites
- An OpenStack user account. The account does not have to have the administrator role.
- Linux command line experience
- A Terraform installation
How to Create an Instance Using Terraform
Step 1: Prepare Terraform Directory
Terraform should be installed to a machine that has Internet access to your Private Cloud. This could be your own machine or one of your cloud's hardware nodes, for example.
When working with Terraform, we suggest creating a folder to manage your Terraform plans and execution files. For example:
mkdir ~/terraform
Step 2: Specify Terraform Provider
When working with Terraform, you must specify a provider. There are a number of providers to choose from located in Terraform's Providers website. For our case, we need to use Terraform's OpenStack Provider because our clouds are powered by OpenStack.
To specify the OpenStack provider, create a file called providers.tf
in your Terraform directory containing:
terraform {
  required_providers {
    openstack = {
      source = "terraform-provider-openstack/openstack"
      version = "1.46.0"
    }
  }
}
Step 3: Initialize Terraform
With a provider defined, Terraform must be initialized.
To initialize Terraform, execute:
terraform init
When Terraform has been successfully initialized, the following message is returned:
Terraform has been successfully initialized!
You may now begin working with Terraform. Try running "terraform plan" to see
any changes that are required for your infrastructure. All Terraform commands
should now work.

If you ever set or change modules or backend configuration for Terraform,
rerun this command to reinitialize your working directory. If you forget, other
commands will detect it and remind you to do so if necessary.
Step 4: Create OpenStack Application Credentials
To point Terraform to the appropriate cloud and authenticate, you can generate a set of OpenStack Application Credentials. To do so, log in to your cloud and navigate to the section Identity -> Application Credentials.
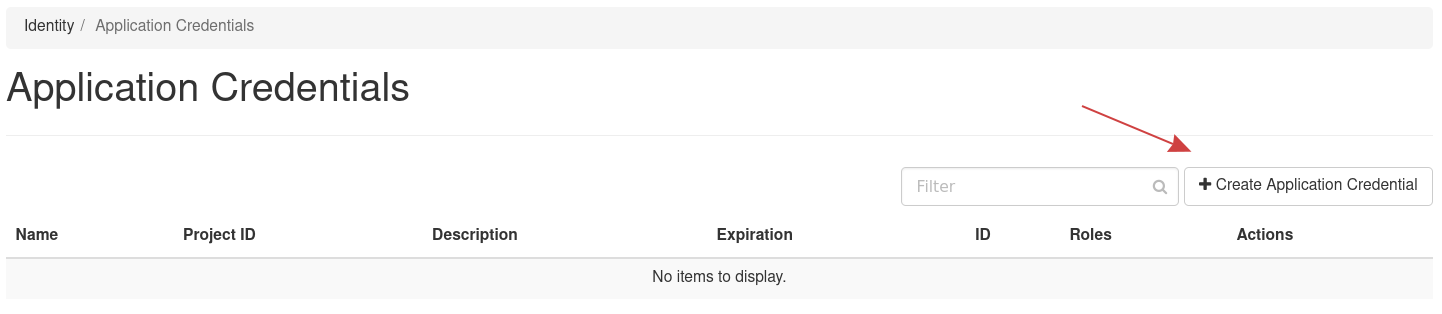
Figure 1: Application Credentials
Click Create Application Credential to create a new set of
credentials. Fill out the details as needed and submit the form. Another
pop up form appears providing you the relevant details, like the ID,
Name, and Secret.. Additionally, you can download either an
openrc file or a clouds.yaml with this information pre-defined for
you. For this demonstration, we are using clouds.yaml. When using
clouds.yaml, download this file to the same folder in which you have
initialized Terraform.
The contents of clouds.yaml appears similar to:
clouds:
  openstack:
    auth:
      auth_url: https://cloud.example.com:5000
      application_credential_id: "7442c72c56c34d8780e83ca69b4f2a73"
      application_credential_secret: "xxxxxxxxxxxxxxxxxxxxxxxxxxxxxxxxxxxxxxxxxxxxxxxxxxxxxxxxxxxxxxxxxxxxxxxxxxxxxxxxxxxxx"
    region_name: "iad3"
    interface: "public"
    identity_api_version: 3
    auth_type: "v3applicationcredential"
Step 5: Create Main Terraform File
Everything is now in place to launch an instance. To do so, we must
create a template, define the openstack provider, and define a compute
resource.
Configure OpenStack Provider
Within your Terraform directory, create a file called main.tf. Then,
for the OpenStack provider, configure the cloud to point to, like so:
provider "openstack" {
  cloud = "openstack"
}
The value for cloud can be variable. For our case the value should be
set to openstack. This is determined by examining the clouds.yaml
downloaded in the previous section. The line immediately following
clouds: is the name of your cloud. For this example, the start of
clouds.yaml appears as:
clouds:
  openstack:
    auth:
      auth_url: https://cloud.example.com:5000
The line immediately following clouds: is openstack:, indicating the
name of this cloud is openstack and thus the value for cloud is set
as cloud = "openstack".
Configure Compute Resource
With the provider section configured, you can now define a compute
resource. This compute resource is defined in the same main.tf file.
You will need to collect a number of details from your cloud, such as an
image UUID, a list of flavors, a key pair, and any other items needed
when spawning an instance.
To define a compute resource, we use the following template:
resource "openstack_compute_instance_v2" "<resource-name>" {
  name = ""
  image_id = ""
  flavor_id = ""
  key_pair = ""
  security_groups = []

  network {
    name = ""
  }
}
With the OpenStack Terraform provider, openstack_compute_instance_v2
is a resource we can use to create an instance. For more details about
this resource and its configuration options, see Terraform's
Registry and search for
openstack_compute_instance_v2.
A description of variables used for the resource block:
- name: Defines the instance's name
- image_id: UUID for an operating system image hosted in your cloud
- flavor_id: The value for an instance flavor
- key_pair: The value for a key pair hosted in your cloud
- security_groups: The value in list format for security groups to set
Then within the resource block, we also configure a network with which
the instance will be associated by creating a network block.
A description of the variable used for the network block:
- name: This is the name of a network available to your project
As an example, here is the above template filled out using details from a Private Cloud:
resource "openstack_compute_instance_v2" "terraform-demo-instance" {
  name = "demo-instance"
  image_id = "c786deab-3fc6-4a92-9a1e-54bcab32e2c2"
  flavor_id = "m1.small"
  key_pair = "demo-key"
  security_groups = ["default"]

  network {
    name = "Private"
  }
}
The template name can be changed to suit your purposes but must include
the .tf extension.
Step 6: Create Terraform Plan
Terraform needs to create a plan based on the current configuration. This plan provides the changes Terraform will make to your cloud prior to making them, giving an operator a chance for review.
The command to create a Terraform plan is:
terraform plan
By default terraform plan does not save the plan to disk. To have the
plan written to disk, use:
terraform plan -out <path>
Replacing <path> with where you want to store the Terraform plan.
For this example, we will have Terraform create the plan and write the plan to disk using:
terraform plan -out ~/terraform/plan
This creates a Terraform plan in the location ~/terraform/plan.
Step 7: Deploy Terraform Plan
After reviewing the plan and ensuring the changes to be made meet your expectations, use Terraform to deploy the plan.
The command to deploy a Terraform plan is:
terraform apply [PLAN]
Where [PLAN] is an optional variable. For this example, since we saved
the plan to disk, we will use that plan when applying Terraform.
For example:
terraform apply ~/terraform/plan
Results of a successful plan application:
$ terraform apply ~/terraform/plan
openstack_compute_instance_v2.terraform-demo-instance: Creating...
openstack_compute_instance_v2.terraform-demo-instance: Still creating... [10s elapsed]
openstack_compute_instance_v2.terraform-demo-instance: Still creating... [20s elapsed]
openstack_compute_instance_v2.terraform-demo-instance: Creation complete after 24s [id=3a126456-bea5-4bc6-8ef8-d3375d35f7c8]

Apply complete! Resources: 1 added, 0 changed, 0 destroyed.
This concludes using Terraform to spin up an instance in your Private Cloud.
View Instance Created by Terraform
To view your created instance, navigate in Horizon to Project -> Compute -> Instances, where you can view the instance created by Terraform.
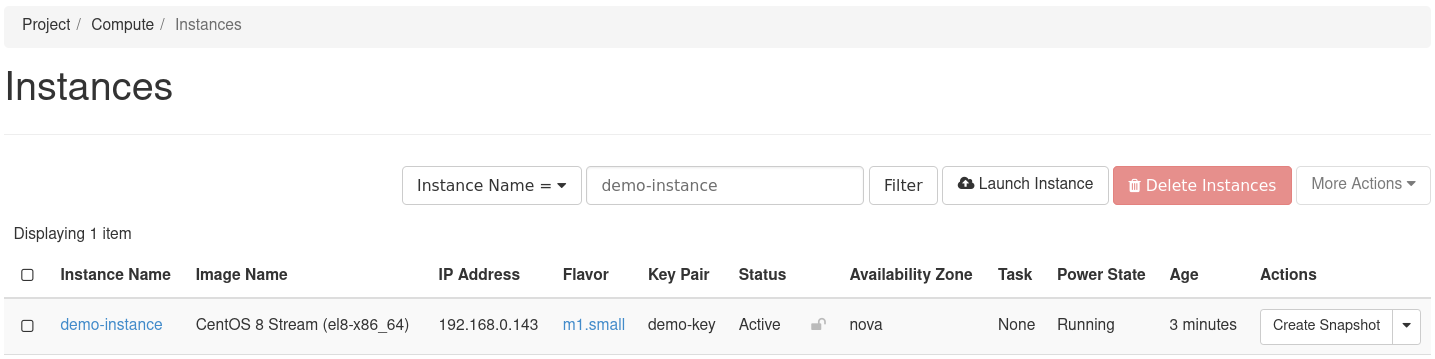
Figure 2: Newly Created Terraform Instance