


Introduction
Flavors in OpenStack control the amount of VCPUs, RAM, and disk storage allocated to an instance. Flavors are managed by an administrative user.
Further control is available by setting metadata for a flavor. In this guide, we outline how to manage flavors in your Private Cloud.
Table of Contents
Prerequisite
You must use an OpenStack administrator account. By default, this is the user admin, but can be any user with the admin role.
How to Create a Flavor
Begin by navigating in Horizon to Admin -> Compute -> Flavors. By default, our Private Clouds come with flavors defined so you should see several options.
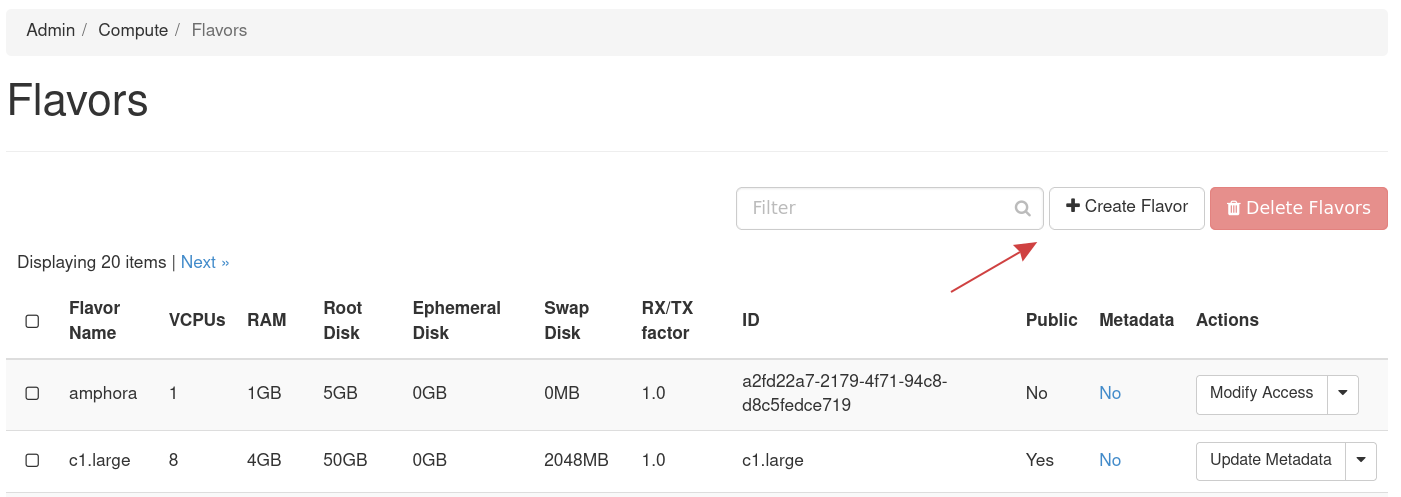
Figure 1: List of Flavors
Click Create Flavor to create a new flavor.
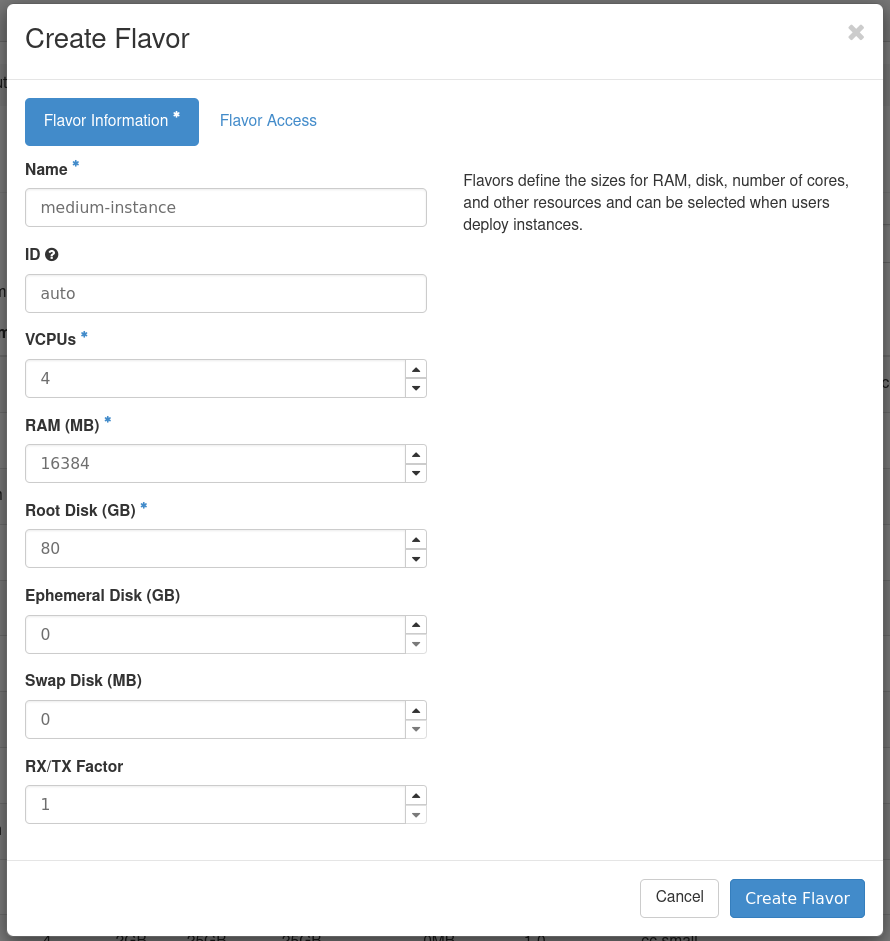
Figure 2: Create Flavor Form
Fill out the details as needed and submit the form.

Figure 3: Newly Created Flavor Listed
Update Flavor Metadata
After a flavor is created, you can apply additional metadata to it. For our case, we use metadata for specific flavors to control on which hosts instances are scheduled. This is useful when you want to spawn an instance that uses strictly ephemeral storage with our compute-only nodes.
For clusters using the NVIDIA A100 GPU nodes, we add metadata to specific flavors which when applied to an instance causes it to spawn on the GPU node.
How to Update Flavor Metadata
To update the metadata for a flavor, first navigate to Admin -> Compute -> Flavors, and locate the flavor in the list. From the drop down on the right, select the option Update Metadata.
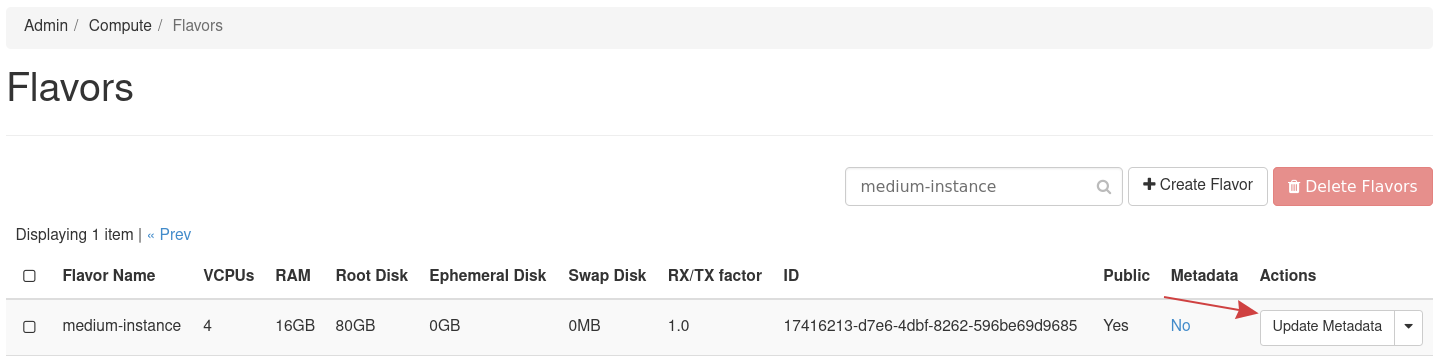
Figure 4: Update Flavor Metadata
Deleting a Flavor
Flavors can also be deleted. This action is irreversible.
How to Delete a Flavor
To delete a flavor, first navigate to Admin -> Compute -> Flavors, and locate the flavor in the list. From the drop down on the right, select the option Delete Flavor.
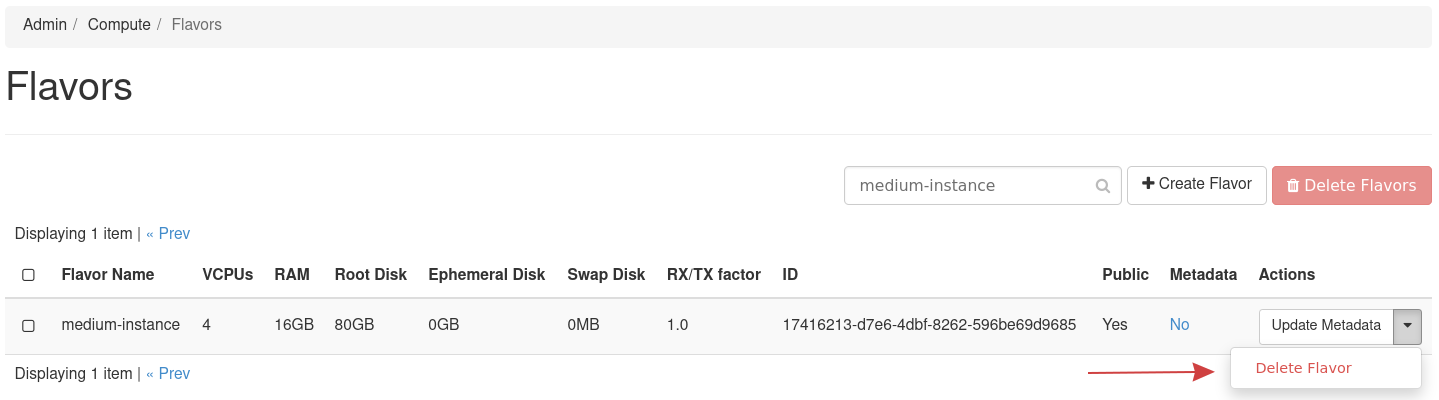
Figure 5: Delete Flavor
References